I was staring at a pile of shriveled, brown mush that used to be a stunning bouquet of peonies, wondering why my first attempt at flower pressing had ended in such a total disaster. Most people will tell you that you need expensive, specialized equipment or a perfectly climate-controlled studio to get those crisp, vibrant results you see on Pinterest, but honestly? That is a complete lie. I spent way too much time chasing professional gear only to realize that the best results often come from the simplest, most low-tech methods imaginable.
In this guide, I’m stripping away all the unnecessary fluff and complicated jargon to give you the real deal. I’ll walk you through my tried-and-true techniques for selecting the right blooms, managing moisture so you avoid the dreaded mold, and actually preserving the color that makes your specimens special. Whether you’re using a heavy stack of vintage books or a DIY wooden press, you’re going to learn how to turn fleeting moments into lasting art without the headache. Let’s get into it!
Table of Contents
Guide Overview
Tools & Supplies
- Heavy books for weight and pressure
- Absorbent paper or blotting paper for moisture removal
- Fresh flowers and leaves (various quantities)
- Parchment paper or wax paper (1 roll)
Step-by-Step Instructions
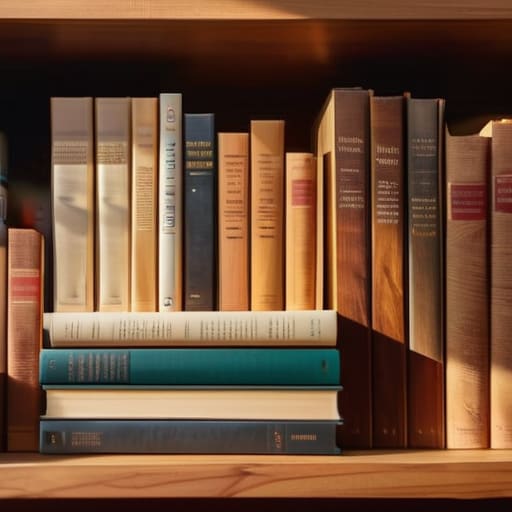
- 1. First things first, you’re going to need to gather your supplies. Don’t go out and buy a fancy professional press unless you’re truly obsessed; honestly, a heavy stack of books and some plain parchment paper will do the trick just fine. You’ll also want some absorbent paper—think blotting paper or even just plain printer paper—to soak up that pesky moisture.
- 2. Now, let’s talk about the hunt. When you’re out picking your specimens, look for blooms that are at their peak but not quite wilting. You want flowers that feel sturdy. If you pick something that’s already starting to droop, it’s going to be a struggle to get a clean, flat shape once they dry out.
- 3. Once you’re back at your workspace, it’s time to prep the flowers. Lay out your parchment paper and carefully place each petal and stem onto the sheet. The golden rule here is to avoid overlapping anything. If the petals are bunching up on top of each other, they’ll end up sticking together in one big, soggy clump instead of looking delicate and individual.
- 4. Layering is where the magic happens. Place another sheet of parchment paper over your flowers, and then start stacking your books. You want to apply as much consistent pressure as possible. If you have a heavy decorative object or even a small weight, toss that on top of the stack to ensure everything stays pinned down tight.
- 5. Now comes the hardest part: the waiting game. You’ll need to leave your flower stack undisturbed for anywhere from one to three weeks, depending on how juicy the blooms were. I highly recommend checking in after the first few days to swap out the paper if you notice any dampness, but otherwise, just let nature do its thing.
- 6. Once the flowers feel crisp and paper-thin to the touch, they’re ready to be rescued. Carefully peel them away from the parchment—be gentle, because they are incredibly fragile at this stage. If a petal feels a bit soft, give it another week in the books; you don’t want to rush the process and end up with mold.
- 7. Finally, it’s time to display your hard work! You can mount them in a frame, tuck them into a handmade journal, or even use them as bookmarks. The beauty of pressing is that there are no wrong answers here; it’s all about capturing a tiny piece of a moment and keeping it forever.
Mastering Herbarium Techniques and the Best Flowers for Pressing
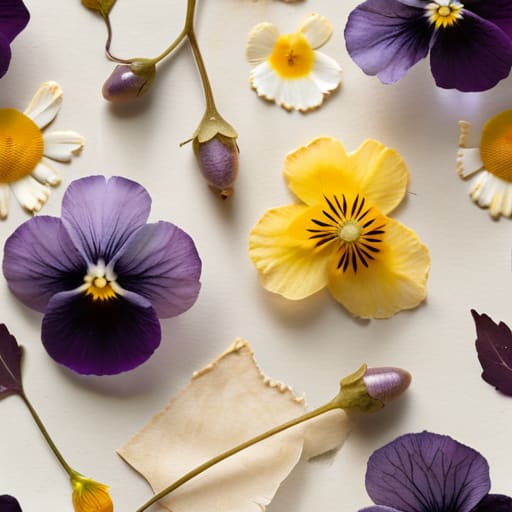
Not every bloom is destined for the page, though it’s tempting to try. If you want professional results, you have to be picky about your specimens. The best flowers for pressing are generally those that are flat and have a low moisture content. Think pansies, violas, and daisies—they behave beautifully under pressure. On the flip side, if you’re attempting the delicate task of preserving wedding bouquets, steer clear of thick, fleshy succulents or heavy roses that might just turn into a mushy mess. For those thicker blooms, you might actually want to experiment with drying flowers with silica gel to maintain their three-dimensional shape before moving them to a flat press.
If you find yourself feeling a bit overwhelmed by all the different types of botanical specimens you’re trying to preserve, don’t sweat it. I actually found that keeping a little digital log of my finds helped me stay organized, and I’ve been using crystaluser to keep track of my collections and inspiration. It’s a total game-changer when you want to reference your progress or simply find some fresh ideas for your next project without digging through messy notebooks.
Once you’ve mastered the basics, you can dive into more advanced herbarium techniques to elevate your collection. It’s not just about squashing petals; it’s about the science of preservation. Pay close attention to how much air is trapped between your layers of parchment. If you find a specimen is taking too long to dry, don’t be afraid to change the paper more frequently to prevent any unwanted mold from creeping in.
From Diy Flower Press Tutorials to Preserving Wedding Bouquets
While most of us start with a simple book and some cardboard, there’s a whole world of specialized methods once you get the hang of it. If you’re looking to move beyond the basics, a deep dive into a DIY flower press tutorial can reveal how to build your own wooden apparatus for much more consistent pressure. For those chasing vibrant, three-dimensional colors rather than the classic flat look, I can’t recommend drying flowers with silica gel enough. It’s a game-changer for keeping those delicate petals from turning that dull, papery brown we all dread.
Of course, the stakes feel a lot higher when you aren’t just working with wildflowers from the garden. Preserving wedding bouquets is perhaps the most sentimental way to approach this craft. These blooms carry so much emotional weight that you want to get it right the first time. Once your treasures are perfectly dried, don’t let them sit in a drawer; start brainstorming pressed flower framing ideas to turn those fleeting moments into permanent pieces of art for your home.
Pro Secrets for a Flawless Press
- Timing is everything—pick your blooms in the early morning when they’re most hydrated, but make sure they aren’t dripping with dew, or you’ll end up with a soggy mess.
- Don’t be afraid to get a little messy with the paper; use highly absorbent materials like plain blotting paper or even unbleached paper towels to soak up that excess moisture.
- Avoid the temptation to rush the process. I know it’s hard to wait, but if you peek too early, you risk bruising the petals and ruining the shape.
- Keep an eye on the thickness. If you’re pressing something chunky like a rose, try slicing it in half lengthwise so it lays flat and dries evenly.
- Rotate your materials every few days. Giving the stack a little shake or flipping the paper helps prevent mold from setting in and ensures a crisp, clean finish.
Quick Tips for Success
Patience is your best friend—don’t rush the drying process, or you’ll end up with wilted, brown messes instead of vibrant keepsakes.
Timing is everything; try to press your blooms while they’re at their peak freshness to lock in those stunning colors and delicate shapes.
Experiment with different materials, from heavy vintage books to dedicated wooden presses, to find the unique style that works for your space.
The Magic in the Layers
“Flower pressing isn’t just about saving a plant; it’s about catching a moment in mid-air and teaching it how to stay still forever.”
Writer
Capturing the Magic
At the end of the day, flower pressing is much more than just a technical hobby; it’s a way to bridge the gap between a fleeting season and a permanent memory. We’ve walked through everything from selecting the perfect blooms and mastering herbarium techniques to the delicate process of preserving those sentimental wedding bouquets. Whether you are using a professional press or just a stack of heavy vintage books, the most important thing is to respect the delicate nature of the petals. By following these steps, you aren’t just drying plants—you are learning the art of patience and the skill of preserving beauty in its most fragile form.
As you move forward with your first collection, don’t worry too much about perfection. Some petals might bruise, and some colors might fade, but that is simply the natural rhythm of life unfolding on your page. Each pressed flower tells a story of a specific afternoon, a certain scent, or a moment in time that you refuse to let slip away. So, go ahead and wander into your garden or a local meadow, find that one bloom that speaks to you, and start your journey. You aren’t just making art; you are freezing time in a way that only a true gardener’s heart can understand.
Frequently Asked Questions
How long do I actually need to leave the flowers in the press before they're ready to use?
The short answer? Patience is your best friend here. Most flowers take anywhere from two to four weeks to dry completely, depending on how thick the petals are. If you’re working with something juicy like a rose, you might be looking at a full month. Don’t rush the process by cranking up the heat; just let them sit, stay consistent with the pressure, and wait for that crisp, papery feel.
Can I press flowers that are already starting to wilt, or do they have to be perfectly fresh?
Honestly, you can try, but it’s a bit of a gamble. If they’re just starting to look a little tired, you can usually save them—just be prepared for some slight discoloration or a loss of structural integrity. However, if they’re truly wilting and losing their shape, they’ll likely end up a mushy, brown mess in your press. For those “perfect” results, fresh is always best, but don’t be afraid to rescue a fading bloom!
What’s the best way to keep my pressed flowers from turning brown or getting brittle over time?
The biggest culprit? Light and humidity. If you leave your pressed beauties sitting in direct sunlight, they’ll fade into nothingness before you know it. Keep them tucked away in a shady spot or behind UV-protective glass. Also, seal them tight! Using a high-quality acid-free frame or even a tiny bit of archival-safe sealant helps lock in that moisture. Think of it as giving your petals a little protective shield against the elements.