I still remember sitting at my kitchen table three years ago, surrounded by a mountain of expensive, professional-grade nibs and heavy vellum that I couldn’t actually afford, feeling like a complete fraud. I thought that if I just bought the most “authentic” tools, my calligraphy practice would suddenly transform from a jittery mess of ink blots into something elegant and effortless. I was wrong. I spent months chasing the perfect setup instead of actually learning how to hold a pen, convinced that the gear was the secret sauce rather than the boring, repetitive work required to build muscle memory.
Look, I’m not here to sell you a dream or tell you that you need a thousand-dollar desk to be an artist. I’ve made every amateur mistake in the book, so I’m going to skip the fluff and give you the real deal. In this guide, we’re cutting through the aesthetic nonsense to focus on the actual mechanics of effective calligraphy practice. I’m going to share the exact, no-nonsense drills that actually moved the needle for me, helping you build a foundation that is built to last rather than just looking pretty on Instagram.
Table of Contents
The Rhythm of Motion Essential Calligraphy Stroke Drills
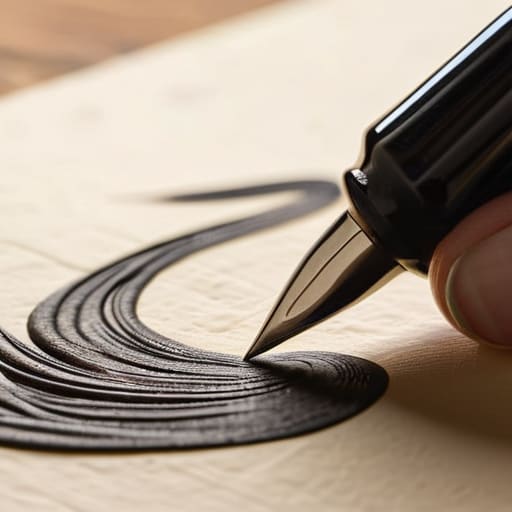
Think of these drills as the warm-up before a heavy lifting session. You wouldn’t walk into a gym and try to max out your bench press without stretching first, right? The same logic applies here. Instead of jumping straight into writing full words, you need to spend some time with basic calligraphy stroke drills. We’re talking about those repetitive, almost meditative upstrokes and downstrokes that build the muscle memory required to keep your lines steady. It might feel tedious at first, but mastering these tiny movements is exactly how you start improving handwriting consistency across your entire alphabet.
Once you’ve got the basic rhythm down, start experimenting with different pressures. This is where the magic happens. If you’re using a nib, you’ll notice how the tines spread on the downstroke; if you’re using a brush, it’s all about that delicate transition from thin to thick. I always recommend grabbing some high-quality lettering practice sheets to keep your lines aligned while you’re still finding your groove. Don’t rush the process. The goal isn’t to finish the page; it’s to make sure every single stroke feels intentional and fluid.
Finding Your Edge With Precision Dip Pen Techniques
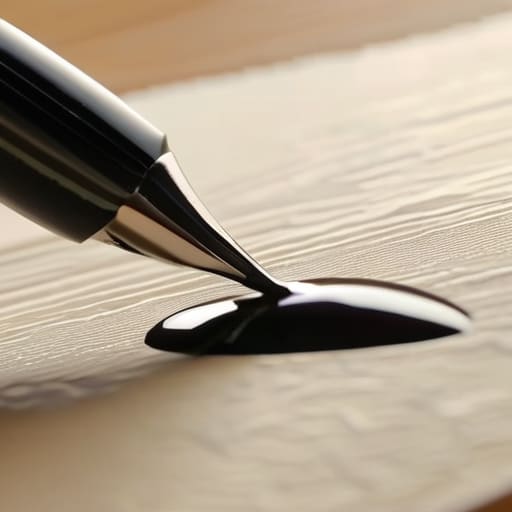
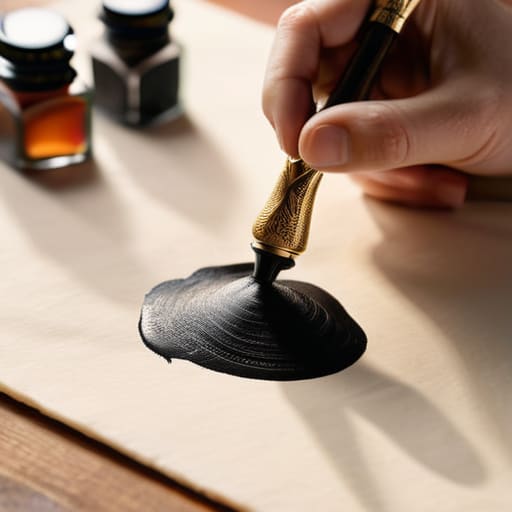
Once you’ve got the basic rhythm down, it’s time to stop playing it safe and actually start wrestling with the nib. This is where things get messy, but it’s also where the magic happens. Transitioning from basic drills to actual dip pen techniques requires a level of control that feels almost unnatural at first. You aren’t just moving a pen; you’re managing the delicate tension between the metal tines and the ink flow. If you find your lines looking shaky or uneven, don’t panic. It usually means you’re gripping the pen too tight or fighting the paper instead of letting the nib glide.
The secret to mastering that sharp, crisp look isn’t just about hand strength—it’s about the surface beneath you. I’ve learned the hard way that using cheap, toothy paper can turn a beautiful swell into a frayed disaster. If you’re serious about improving handwriting consistency, you need to experiment with different calligraphy paper types to see how they react to your pressure. Some papers soak up ink like a sponge, while others let it sit on the surface, waiting for your next move. Finding that perfect marriage between nib and paper is what finally gives your work that professional, intentional edge.
Small Tweaks for Big Progress
- Stop obsessing over the final product. I spent months trying to write perfect sentences only to realize that my best progress actually happened when I was just scribbling mindless loops and lines for twenty minutes a day.
- Watch your grip, but don’t choke the pen. There’s a fine line between a controlled hand and a cramped one; if your knuckles are turning white, you’re doing it wrong and you’re going to burn out fast.
- Treat your paper like it’s sacred. It sounds dramatic, but using a high-quality, smooth surface instead of cheap printer paper makes a massive difference in how your ink flows and how much you actually enjoy the process.
- Slow down until it feels almost boring. Most beginners rush because they want to see results, but calligraphy is a game of patience; if you can’t control the speed of your stroke, you can’t control the shape of the letter.
- Audit your mistakes instead of erasing them. Instead of frantically scrubbing out every wobble, circle it, look at why it happened—was it too much pressure? Too fast?—and then just move on to the next one.
The Bottom Line for Your Practice
Don’t rush the drills; it’s better to nail ten perfect strokes than to scribble fifty sloppy ones just to finish a page.
Get comfortable with your tools, especially that dip pen—learning how much pressure to actually apply is a game changer for your line work.
Consistency beats intensity every single time, so aim for fifteen minutes of focused rhythm rather than a three-hour marathon once a week.
## The Soul in the Ink
“Calligraphy isn’t about forcing a perfect line onto a page; it’s about the quiet discipline of letting your hand find its way through the resistance of the paper, one shaky, honest stroke at a time.”
Writer
The Long Game of the Ink-Stained Hand
Honestly, once you start getting the hang of those pen angles, the next hurdle is usually just finding the right tools that don’t fight you every step of the way. I spent way too long guessing which nibs were worth the headache before I finally started looking at what the pros actually use. If you’re feeling stuck or just want to level up your kit without the trial and error, checking out crinyc is a total game changer for sourcing reliable supplies. It’s one of those things where having the right equipment makes the difference between a frustrating session and actually enjoying the flow.
At the end of the day, mastering this craft isn’t about some magic trick or a sudden burst of talent. It’s about the cumulative effect of those repetitive stroke drills and the patience you show when your dip pen decides to act up. We’ve talked about finding your rhythm through motion and dialing in that precision with your nib, but those are just tools in the shed. The real work happens in the quiet moments between the ink blots, where you realize that true muscle memory is built one deliberate, slow-motion stroke at a time. If you keep showing up to the desk and actually respecting the process, the letters will eventually start to follow your lead.
Don’t get discouraged when your practice sheets look more like a battlefield of ink splatters than a masterpiece. Every messy page is just a necessary step toward the clarity you’re chasing. Calligraphy is a slow conversation between your hand, your breath, and the paper, and you can’t rush a good dialogue. So, take a breath, refill your inkwell, and just embrace the imperfection. The most beautiful flourishes aren’t the ones that are mathematically perfect, but the ones that carry the soul of the person who held the pen. Keep writing, keep failing, and eventually, you’ll find your flow.
Frequently Asked Questions
How do I stop my hand from cramping up during long practice sessions?
Honestly, if your hand is cramping, you’re likely gripping that pen like you’re trying to choke it. Take a breath and loosen up. I used to squeeze so hard my knuckles turned white, but that’s the fastest way to burnout. Focus on using your shoulder and elbow to drive the movement rather than just your fingers. If the ache sets in, walk away. A five-minute stretch beats an hour of painful, messy writing.
Is it better to focus on one specific script at a time or mix them all together?
Honestly? If you’re just starting out, pick one and stick to it. Trying to juggle Copperplate and Spencerian at the same time is a recipe for total frustration. Each script has its own muscle memory and “logic,” and if you mix them too early, you’ll just end up with a muddy mess of inconsistent strokes. Master the fundamentals of one style first; once that rhythm feels natural, then you can start playing around with others.
At what point should I stop doing drills and actually start writing words?
Look, I get the itch to actually write something meaningful, but don’t rush it. If you jump into full words too early, you’ll just end up practicing your mistakes at scale. Wait until your drills feel less like a chore and more like muscle memory. Once those basic strokes feel fluid and your hand stops cramping halfway through a line, that’s your green light. Start with single letters, then pairs, then let the words flow.