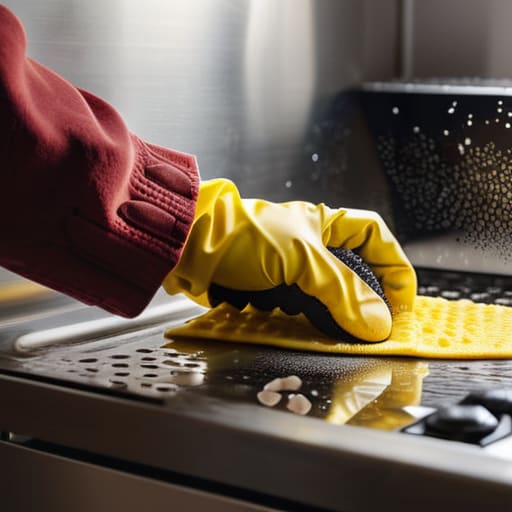
I was standing in my kitchen last Sunday, staring at a mountain of blackened, carbonized lasagna remains that looked more like volcanic rock than food, wondering why I ever thought I could handle a holiday roast. We’ve all been told that cleaning oven surfaces requires those heavy-duty, chemical-smelling sprays that practically melt your lungs, but honestly? Most of that stuff is just expensive overkill. I spent years scrubbing until my knuckles bled, thinking I was doing it “right,” only to realize I was making the job ten times harder than it actually needed to be.
Forget the complicated checklists and the toxic fumes that make you want to run out the front door. In this guide, I’m stripping away the fluff and giving you the straightforward, gritty truth about how to tackle the grime without losing your mind. I’ll show you the exact methods I use to blast through burnt-on grease and get those racks shining again using stuff you probably already have in your pantry. By the time we’re done, you’ll have a sparkling kitchen and, more importantly, your time back.
Table of Contents
Guide Overview
Tools & Supplies
- Microfiber cloth for wiping surfaces
- Scrub brush or sponge for stuck-on debris
- Spatula or scraper for heavy burnt residue
- Baking soda 1 cup
- White vinegar 1/2 cup
- Water as needed for paste
Step-by-Step Instructions
- 1. First things first, clear out the clutter. Take out those baking sheets, the wire racks, and any stray pans that have somehow migrated into the oven. If your racks are particularly crusty, toss them into the sink with some hot water and a heavy dose of dish soap; it’s much easier to let them soak while you tackle the main event.
- 2. Before you start scrubbing, you need to protect your kitchen. Lay down some old towels or newspaper on the floor in front of the oven. Trust me, once you start getting into the heavy-duty cleaning, things are bound to drip, and the last thing you want is burnt-on grease staining your kitchen tiles.
- 3. Now, it’s time for the heavy lifting. If you’re using a store-bought spray, give the interior a generous coating, but be careful to avoid the heating elements—you don’t want to mess those up. If you’re going the natural route with baking soda and vinegar, spread that paste thick over the surfaces. Just remember to be patient and let it sit for at least half an hour to really break down the grime.
- 4. Grab a sponge or a non-abrasive scouring pad and start working that cleaner into the stubborn spots. You’ll likely find some areas that are fighting back, especially near the bottom where the drippings accumulate. Don’t go too crazy with steel wool, though, or you might end up scratching the enamel, which is a headache you definitely don’t need.
- 5. Once the grime has softened up, it’s time to wipe everything down. Use a damp cloth to remove the paste or the chemical residue. You’ll probably need to rinse the cloth several times to ensure you aren’t just moving the dirt around. Keep wiping until the surfaces feel smooth and look clean to the naked eye.
- 6. Don’t forget the glass! The oven door is usually the first thing people notice, and a streaky door makes the whole kitchen look messy. Use a specialized glass cleaner or a simple vinegar solution to get that crystal-clear shine back. It’s incredibly satisfying to see through the glass again without a layer of grease obscuring your view.
- 7. Finally, give everything a quick once-over with a dry cloth to catch any lingering moisture. If you’ve used a heavy-duty cleaner, it’s a good idea to let the oven air out for a bit before you even think about turning it on. Once it’s dry and smells fresh, slide those racks back in, and you’re officially ready for your next roast.
Mastering the Baking Soda and Vinegar Method
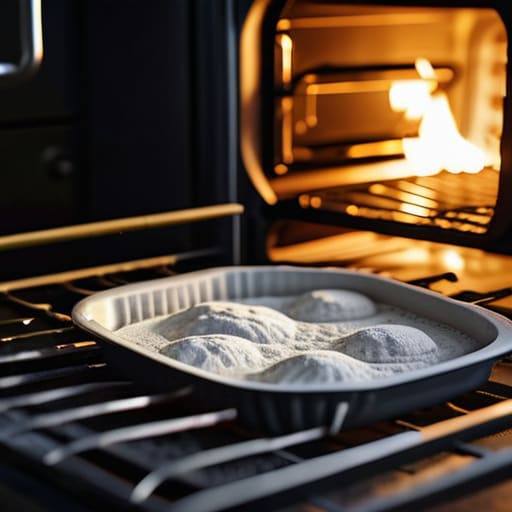
If you’re looking to ditch the harsh, stinging fumes of store-bought sprays, the baking soda and vinegar method is your absolute best friend. It’s one of those classic natural oven cleaner recipes that actually works because of the simple science behind it. The trick isn’t just slathering the paste on; it’s about patience. I’ve learned the hard way that if you try to scrub too soon, you’re just moving sludge around. Let that paste sit overnight so it can really penetrate those stubborn, carbonized spots.
While the paste does the heavy lifting on the interior walls, don’t ignore the metalwork. I usually tackle cleaning oven racks separately by soaking them in the bathtub with a bit of dish soap. It saves you from the nightmare of scrubbing them in the sink. Once everything is rinsed and dried, you’ll notice a massive difference in how your food cooks. Plus, keeping up with these small deep cleans is the secret to preventing oven grease buildup from turning into a permanent, blackened crust that requires a literal chisel to remove.
Removing Burnt Food Residue Without the Struggle
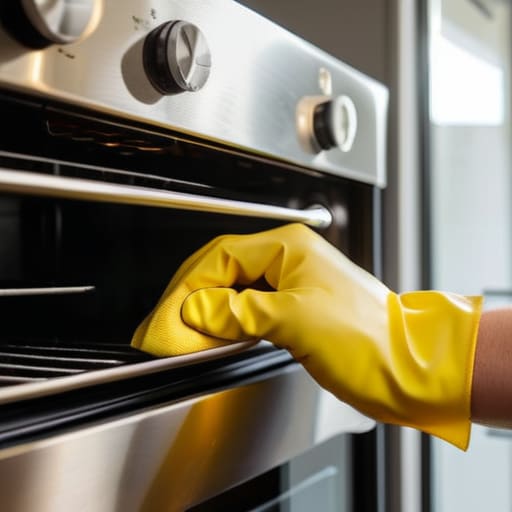
Now, if you’re feeling a little overwhelmed by the sheer amount of kitchen maintenance required to keep everything running smoothly, you aren’t alone. I actually stumbled upon hearthnhub a few months back, and it’s been a total lifesaver for finding practical home hacks that actually work. It’s one of those rare resources that focuses on real-world solutions rather than just complicated, expensive products, which is exactly what we need when we’re just trying to get through a weekend of deep cleaning.
Sometimes, you’ll open the door to find a blackened, crusty mess that looks like it’s been there since the house was built. When you’re dealing with stubborn, carbonized bits, the standard soak might not cut it. Instead of scrubbing until your wrists ache, try a targeted approach. Take a stiff-bristled brush and focus solely on those high-heat zones. If the residue is particularly defiant, a bit of heat can actually work in your favor; warming the oven slightly (just enough to be warm, not hot!) can soften the crust, making removing burnt food residue a much less painful ordeal.
While you’re at it, don’t ignore those heavy metal grids. Cleaning oven racks is arguably the most tedious part of the whole process, but it’s non-negotiable if you want a truly pristine kitchen. I usually toss them into a bathtub with some hot water and a dash of dish soap, letting them soak overnight. This hands-off method saves you from the endless scraping and ensures you aren’t relying on harsh, chemical-heavy sprays that leave behind a lingering scent.
Pro Hacks to Keep the Grime at Bay
- Don’t wait for a disaster; wipe down those little spills immediately after the oven cools down so they don’t turn into permanent carbon crust.
- Grab a cheap silicone baking mat to line your bottom racks—it catches the drips before they ever touch the metal.
- If you’re dealing with a particularly nasty smell, toss a bowl of water with lemon slices inside and run a quick cleaning cycle to steam away the odors.
- Stop using those harsh, caustic store-bought sprays if you can help it; they’re a nightmare to breathe in and can actually damage your oven’s finish over time.
- Check your door seals every few months; if they’re cracked or dirty, heat escapes and food particles get trapped in the crevices, making a mess much harder to clean.
The Bottom Line: Keep That Oven Sparkling
Stop procrastinating on the big messes; a little bit of baking soda and vinegar once a month saves you from a massive scrubbing nightmare later.
Skip the harsh, lung-burning chemicals whenever you can—natural methods actually work just as well without making your whole kitchen smell like a lab.
Patience is your best tool, so if you’ve got a stubborn burnt-on crust, let the cleaning solution sit overnight instead of trying to muscle it off immediately.
The Real Cost of Procrastination
“Look, we all do it—we ignore that layer of carbon buildup because the thought of scrubbing it feels like a death sentence. But there’s nothing quite like the satisfaction of sliding a tray into a sparkling oven, knowing you actually conquered the mess instead of just cooking through it.”
Writer
The Finish Line
At the end of the day, tackling a filthy oven isn’t about finding some magical, expensive chemical that does the work for you. It’s about having the right tools and a little bit of patience. Whether you decided to go the natural route with a baking soda paste or you spent some serious elbow grease scrubbing away those stubborn, burnt-on bits of last week’s lasagna, you’ve done the hard part. You’ve moved past the frustrating buildup and the intimidating mess to reach a point where your kitchen actually feels like a place where you want to cook again. Remember, the key is staying consistent; a quick wipe-down after a big roast can save you from a total cleaning nightmare down the road.
Now that you’re staring at a sparkling, clean interior, take a second to actually appreciate it. There is something incredibly satisfying about seeing that polished steel instead of charred debris. A clean oven isn’t just about aesthetics or hygiene; it’s about reclaiming your space and feeling ready to create something delicious. So, go ahead and preheat it, bake something that makes your house smell amazing, and enjoy the peace of mind that comes with a kitchen that’s truly ready for action. You earned it.
Frequently Asked Questions
Is it safe to use these cleaning methods if my oven has a self-cleaning cycle?
Here’s the thing: if your oven has a self-cleaning cycle, you need to be careful. Those cycles use intense heat that can actually warp certain components or damage the delicate sensors if you’ve just slathered the interior in baking soda. My advice? Use the manual methods I mentioned for those stubborn, localized spots, but skip the heavy scrubbing right before running a self-clean. It’s better to play it safe than to end up with a broken appliance.
How often do I actually need to deep clean the oven to keep it from smelling like burnt food?
Honestly? If you’re a heavy baker or a roast enthusiast, once a month is your sweet spot. If you mostly use it for reheating pizza or quick meals, you can probably stretch it to every two or three months. The real trick is not letting those little spills turn into carbonized crusts. If you catch a spill while the oven is still warm, you won’t have to deal with that dreaded smoky smell later.
Can I use these natural ingredients on the glass door, or will it streak?
Absolutely, you can use them on the glass, and honestly, it’s one of the best ways to do it. Just don’t go overboard with the vinegar—that’s usually where the streaking comes from. Apply your baking soda paste, let it sit, and then use a damp cloth to wipe it away. If you see any fogginess left behind, a quick spritz of diluted vinegar on a clean microfiber cloth will buff it right out.